
Last updated on January 29th, 2024
Images are a powerful medium of expression aptly reverberated by the phrase that an image is worth a thousand words In website designing, an image should be of the right size and resolution to make an impact on the viewers. So, besides selection of the right image for your website, additional considerations such as the file format must also be taken into account as part of your best web graphic practices.
In website designing, an image should be of the right size and resolution to make an impact on the viewers. So, besides selection of the right image for your website, additional considerations such as the file format must also be taken into account as part of your best web graphic practices.
Here Are Some Tips That You Should Follow To Incorporate Images In Your Website
01. Put Images In The Right Place
A web designer must decide wisely about putting an image or graphics in the right place on web pages. Ideally, every web page should have an image at the top. This is the spot that your viewers see right away on visiting your website.
So, you can quickly establish a relationship with your targeted audience by incorporating a relevant image at the top of a web page.
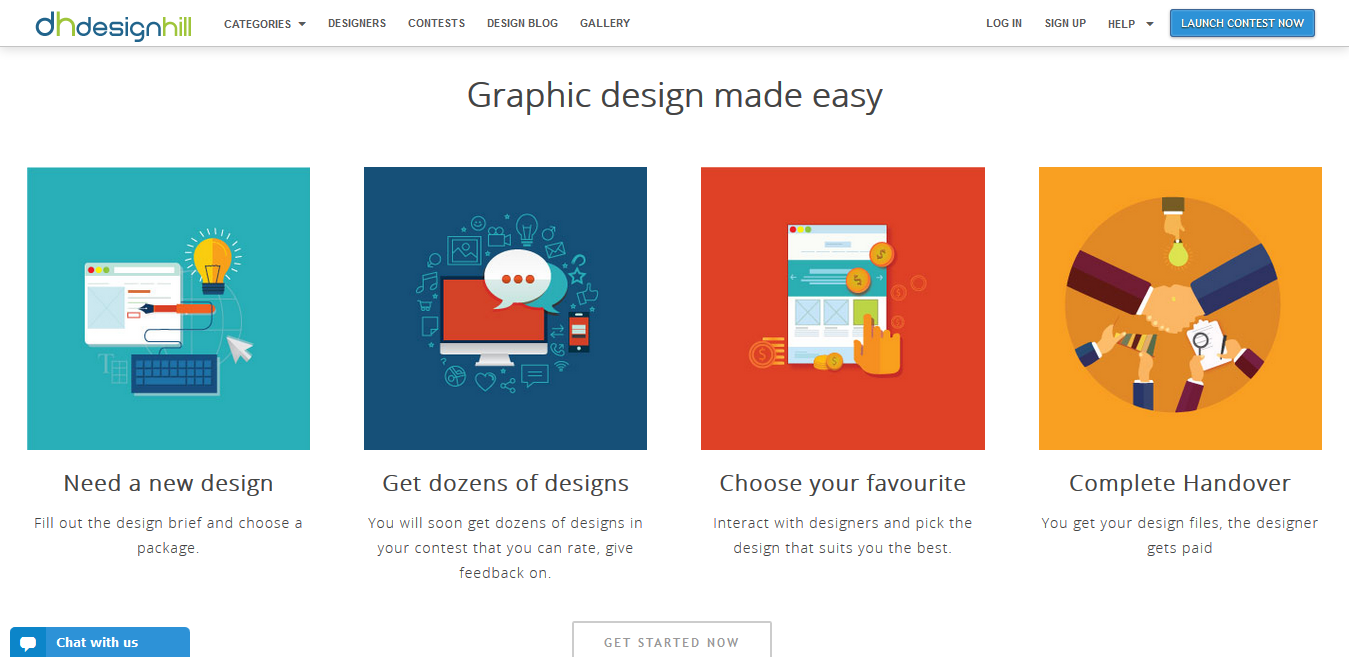
[Source: Designhill]
However, make sure that the image is capable of a visual demonstration or explanation of what you would have otherwise said through words. Select images that help your audience in understanding the subject matter.
You can also follow a current web design trend of using a large photograph at the top or as a background. Due to large background photographs, you can create an impressive web page still with very few images in the body area of the page
02. Decide On The Right File Format
Primary file formats such as .jpg, .gif and .png come with different pros and cons. Make sure that you convert images from other file formats into one of these three primary formats before you upload them to your website.
JPEG format is good enough to handle thousands of colors and gives you an impressive image with a reasonable file size. It is very important to keep a balance of quality and file size when uploading an image and this can be easily ensured in .jpg files.
To find out a right combination of an impressive image and the lowest size of file, try doing that repeatedly until you are satisfied with the result. But it is advisable to avoid using this file format for uploading of graphics with large flat colors.
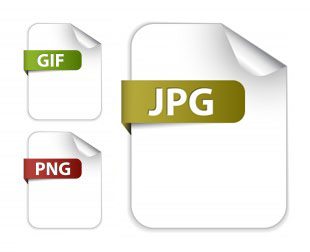
If you are using animation, then GIF file format is ideal as this old format is still good for saving multiple frames in a single file. GIFs are also useful for compressing solid fields of colors and enables you in keeping one color transparent.
This quality of the format can be used for placing graphics against a photographic background. Also note that you can ensure a smaller file in this format by opting for fewer colors.
PNG file format is now considered as a good replacement for GIFs for non-animation graphics. This format has large fields of colors that support transparency. The file also allows you access to the semi-opaque portions of your image where backgrounds can be seen through.
You can save files in PNGs in 8 or 24 bit. It would be better to save semi-transparent images in 24 bit if the images are flat graphics. The 8-bit version is a good option to save little file size.
Looking For a Website Design?
We have helped thousands of business owners from all around the world with their graphic design needs such as a logo design, website design, social media posts, banner design and much more.
Get Your Website Design Get a Free Quote
03. File Size
For web graphics, small file sizes are ideal as they can be loaded quickly. Small file size is also preferred especially for the web having slower internet connection. However, a disadvantage of smaller file is that it results in lowering of the image quality.
A problem confronted by web designers is that websites typically have larger image, often of several megabytes. So, the problem before a web designer is to decrease the file size without any loss of images such as large background images.
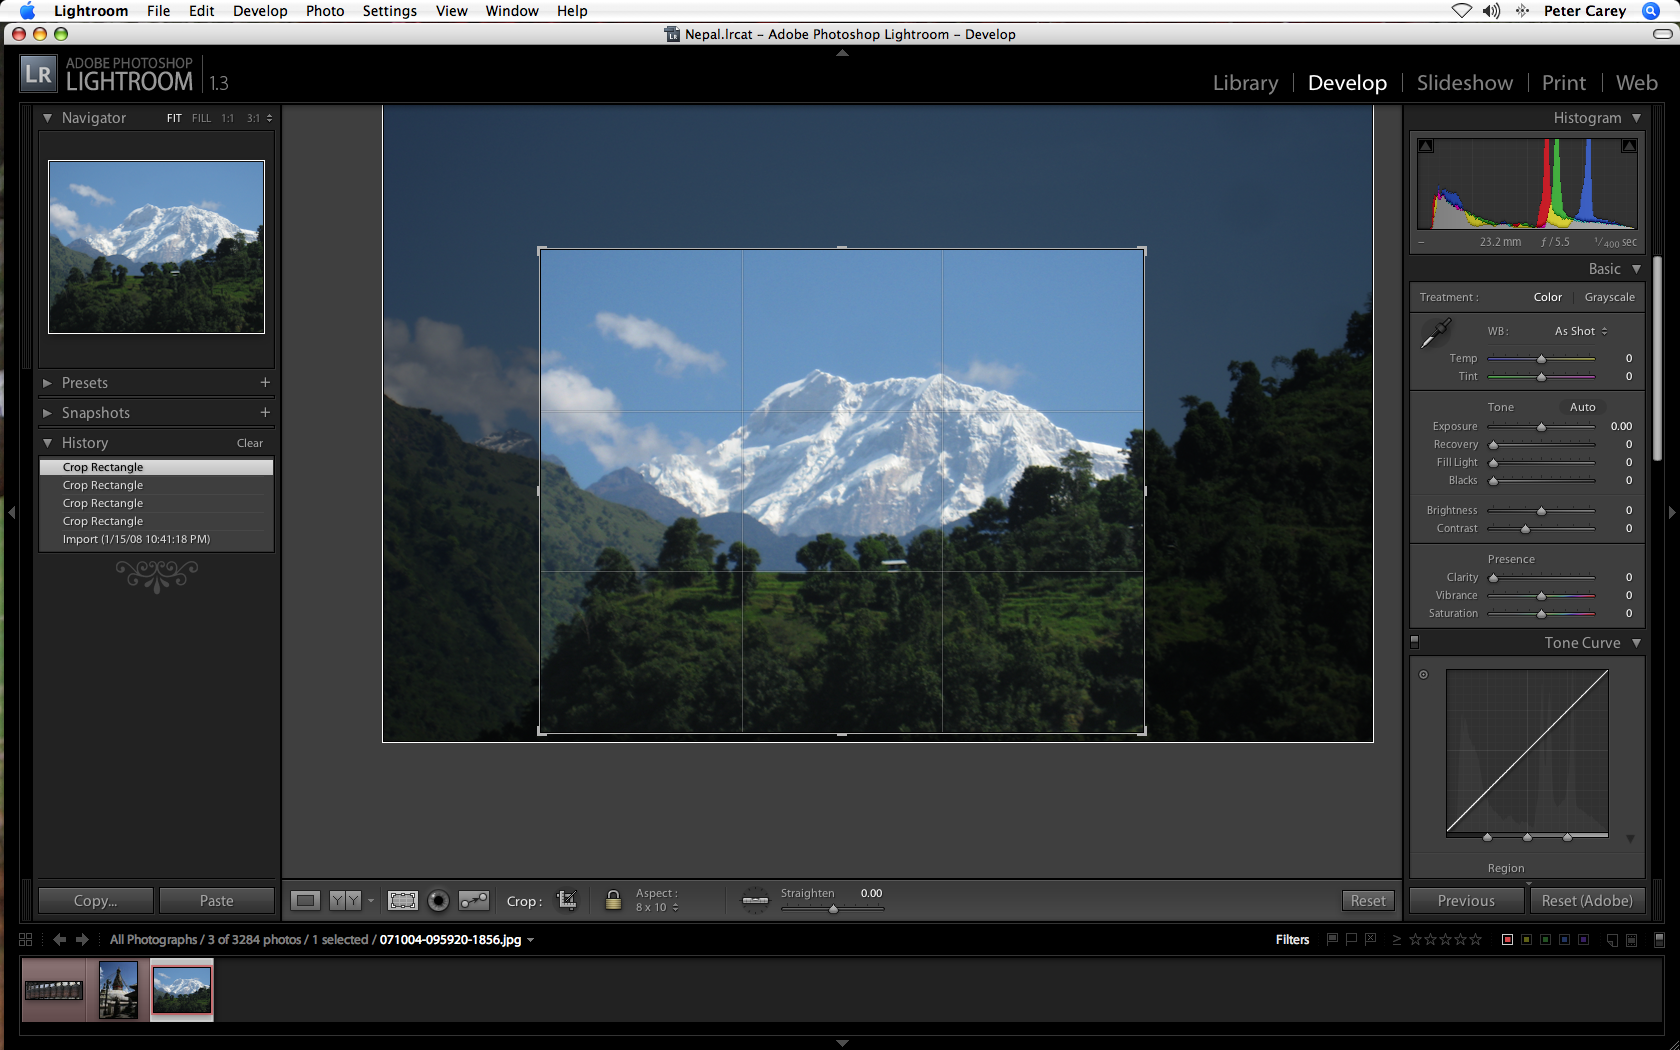
04. Resolution
As a web designer, you must be concerned about the quality of images while decreasing the file size. It is possible to have good quality of image despite reducing size of its file.
The solution is in reducing the resolution which is measured in DPI or dots per inch. It is to be noted that most computer monitors cannot display more than 72 dpi.
[Source: hdwallpaperia]
So, even if the resolution is higher, say of 300 dpi, the look of the image will be the same as that of 72dpi on the screen. But the file with larger resolution will be many times larger than minimum size required.
So, when you use Abode Photoshop, go to the feature called ‘save for web’ and change higher resolution of an image to reduce it to 72dpi and save the file in one of the three formats mentioned above. This way, you can reduce the file size and keep a good quality of the images.
05. Cropping An Image
Another consideration to make while incorporating images in web pages is cropping of images. Wrong way of cropping leaves a picture on the web pages with no major impact on the viewers. There are some tested rules you should be following when removing extra background and cutting out parts of an image.
Never make the mistakes of placing an object or person in the center of the frame as this is not the best way to make a photograph look appealing. A wiser way is to place the main image a bit off the center, either left or right of it.
 [Source: digital-photography-school]
‘’Rule of thirds’’ should be followed while cropping photos. In this rule, a photograph is horizontally distributed in three equal parts. The rule says that the eyes of a person or animal should be at around 2/3rds of the picture on the way up, which is the area along the top of the two lines.
A person’s or an animal’s nose in the picture should have some space in front. This is done to let the viewers would like to look at something in the space where the subject is seeing.
A blocked or narrow space does not give this room to the viewers and so the picture does not look impressive. So, make sure that there is some space between the nose and the edge of the image. This rule should also be followed strictly when the subject of the picture is in motion.
06. Use Legal Images Only
The web is full of free images that you can access anytime. But not all of them are free for commercial use. This means that you must take extra caution in using the stock images.
Once you have incorporated these free images for your commercial website that sells services or products, you may fall in trouble as the images are mostly meant for personal use. You are likely to face legal challenges from the owner of the images.
So, avoid downloading images from random source. If you have to use free images, make sure to reach the commercial usage limitations clause. Read about the licensing of the image also.
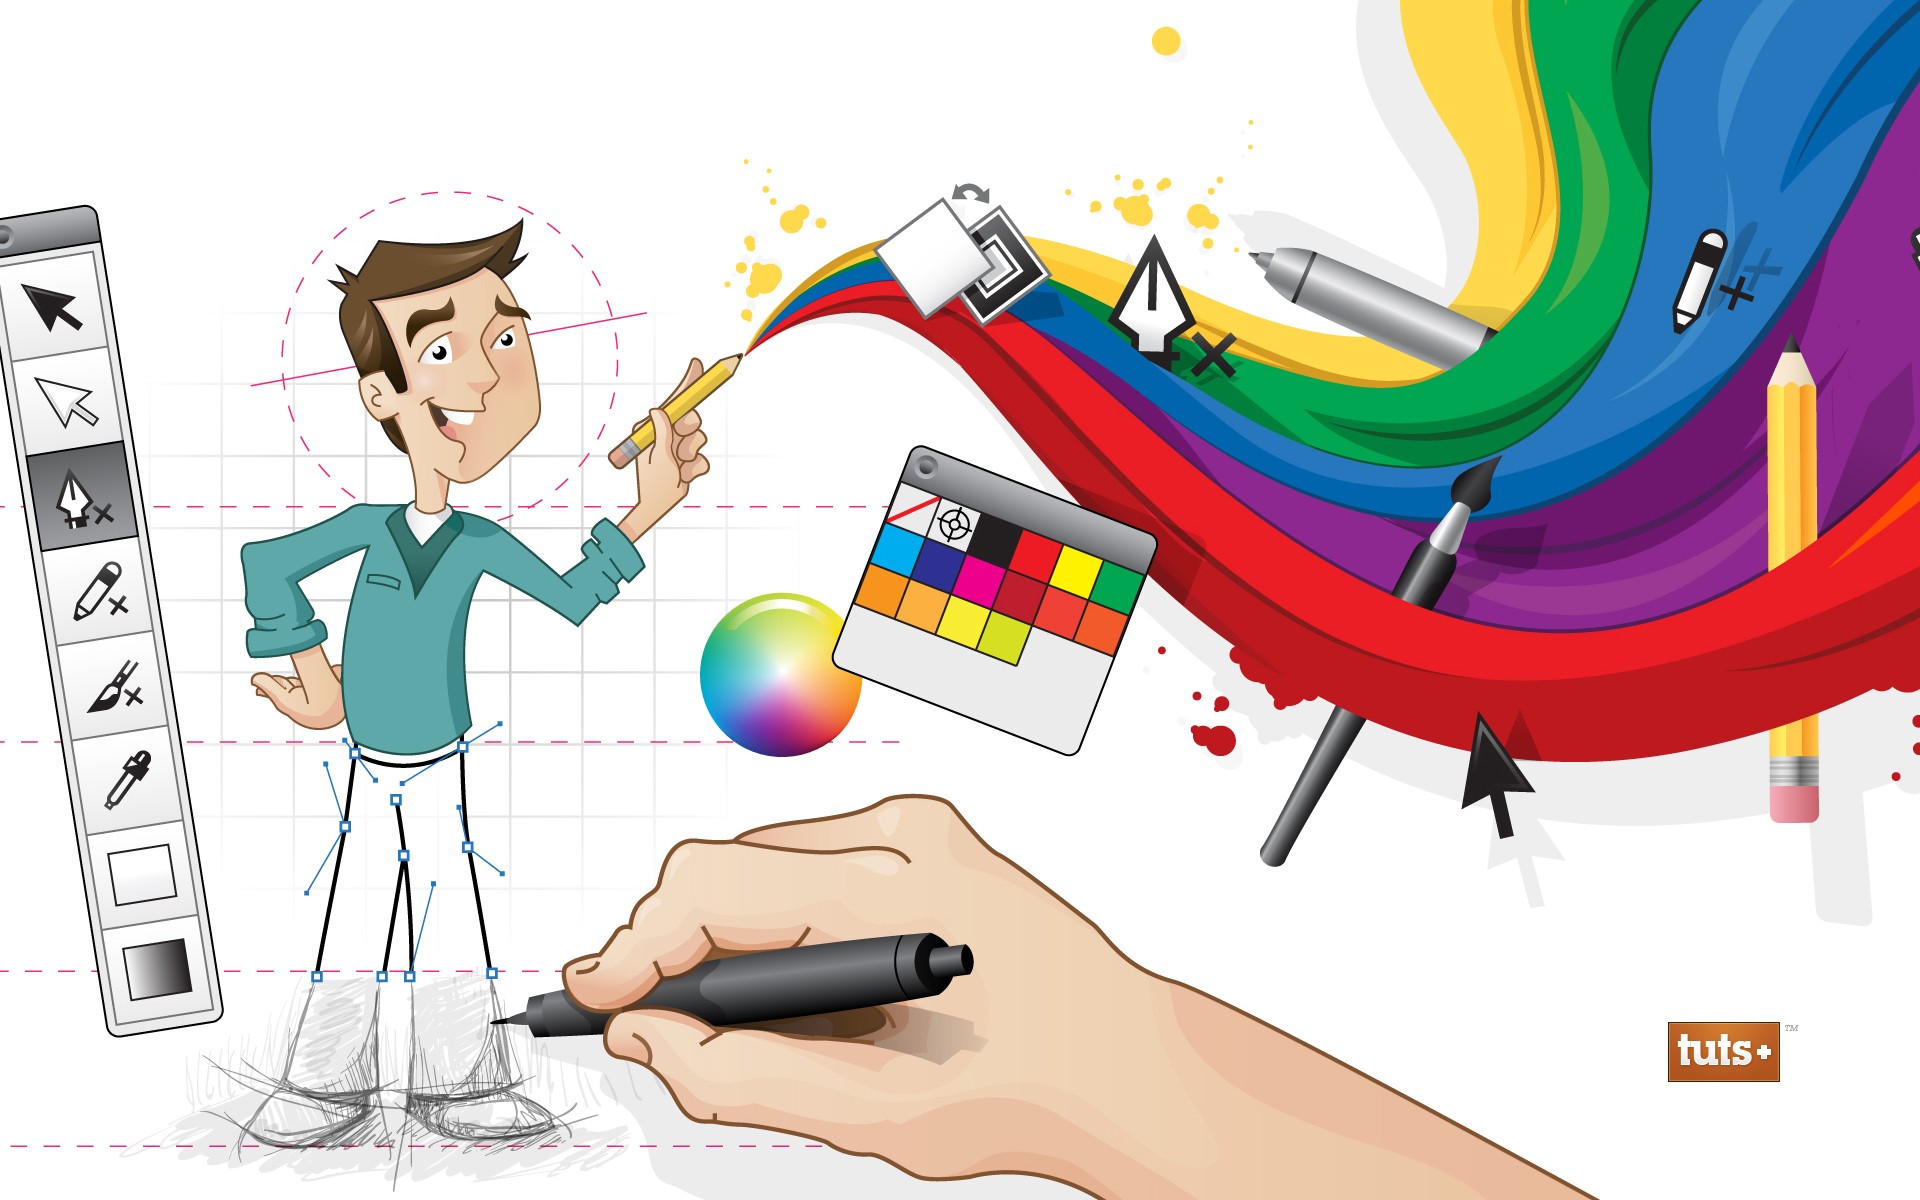 [Source: tuts+]
If you are creating a serious business website, then use your own photos related to your business instead of clichéd stock photos. After all we all have seen those photos of businessmen shaking hands countless times. The viewers are not going to be impressed anymore by seeing such stock images on your website.
It would be good to buy your photos with exclusive rights. Many websites are offering you unique photos in your category of business with a price. You can easily find out the websites offering such images at low cost.
Explore the sites such as Pixabay, Gratisography, Little Visuals, Unsplash, PhotoPin and New Old Stock etc to get unique low-cost photos with your exclusive right on them.


